Electrical conductivity is a necessary input for water analysis. If you know exactly what electrical conductivity (EC/TDS) is, which probe models are available, which measurement techniques are appropriate and how to give probes a bit of attention when they need it, you can get on with your testing.
Regular cleaning of your probe can prevent debris from accumulating on your probe. Two electrode probes can build up between the two electrodes, and the vent hole on a four-ring probe can become clogged. Simply rinse the probe between readings, before storage and after storage. Even if you test in water, you can still get residue.
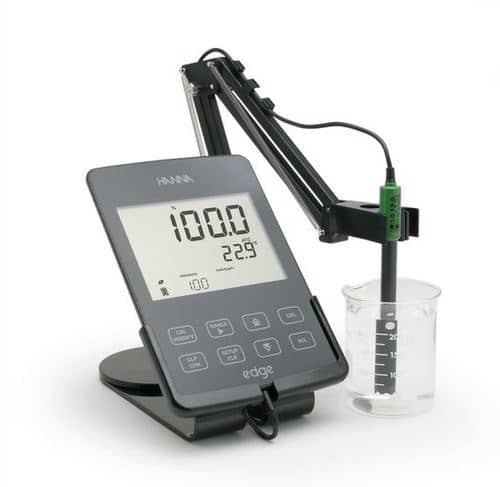
Check the connections between the probe and the device. 3.5 mm connectors can sometimes fool you into thinking it's connected, but press down a little to make sure the pin is inserted all the way into the port.
If you have a meter with a pin connector (DIN/Din rapid), check that the pins are not bent and that they are aligned when you insert the connector.

If your probe is a new four-ring probe, take a look inside the probe sleeve near the bottom. There's a small circle of clear rubber around the inner section of the probe. This is to help preserve the probe during shipping, but it may interfere with your readings. Carefully remove the rubber ring, then recalibrate the probe.
As with pH probes, you need to ensure that your EC probe is properly immersed. Smaller samples are best suited to two electrode probes, as the plates only need to be slightly immersed. Four ring probes require the sample to cover the vent hole as well.
Make sure there is at least one inch of clearance between the probe and all sides of the beaker.
Check the usable measuring range for your two-electrode probe. If your sample is out of range, you need a four-ring probe or a different two-electrode probe.
Proper and frequent calibration is essential. If the probe is used daily, calibrate daily. If not, calibrate the probe before use.
When performing a single-point calibration, first calibrate in air (zero point), then the calibration solution used should be as close as possible to the actual concentration of your sample.
If the concentration of your sample fluctuates regularly over a wide range, you may need a probe and meter capable of calibrating to several standards to increase your accuracy.
Patience is the key! We're not saying you have to wait 10 minutes for your result; just let the temperature equalize. Even with temperature compensation, it takes time for the probe to reach a stabilized temperature state. Be sure to allow a few minutes for the probe to reach this equilibrium
Who cares about little air bubbles? Well, you should during EC measurement. Air bubbles can wreak havoc on readings because the sensing parts of probes may not be fully immersed in the sample. Gently swirl the probe and/or press it into the bottom of the beaker. This should be enough to dislodge any trapped bubbles.
Remember that calibration standards have no buffer capacity. Try taking new/clean beakers and pouring fresh standard into each. Then use a beaker as an extra "rinse" to help keep the calibration standard as free of contamination as possible.

EC probes are highly sensitive, and not all water is created equal. Standards are easily contaminated. Old rinse water, or tap water, can introduce contaminants. Distilled water can be used. But deionized water is the best option.
EC probes should be kept dry, unless you have a combined EC/pH probe. If you have a combined probe, the probe should be stored in KCL storage solution to keep the glass pH probe hydrated and in working order.


